Silent Shark Attack Checklist
Print or pin this — phase-by-phase ticks from first bearing to safe depth when escorts arrive.
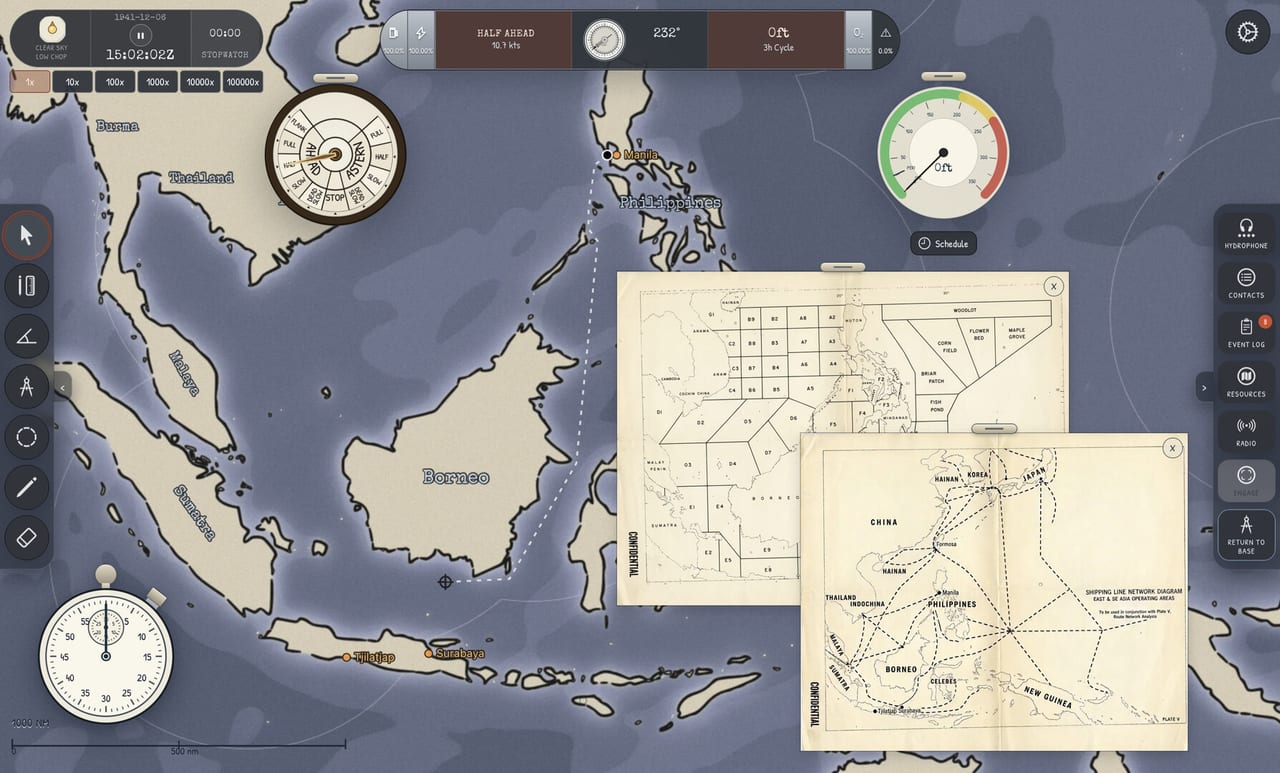
Use this Attack Checklist beside Silent Shark during demo training or August 12, 2026 campaign patrols. It compresses Guides and Systems wisdom into ticks you verify under stress. Single-player means no teammate double-checks your flood order — this list is that teammate.
Pre-sortie
- Scenario or patrol orders understood — Patrol Radio in campaign.
- Weather/time noted; layer check on bathythermograph — Thermal Diving.
- Egress route pre-drawn on chart off convoy axis.
- Tube load and spread plan chosen for target value — Resources in career.
Search (hydrophone + chart)
- Listen speed appropriate; own-ship track current on chart.
- Bearing 1 logged with timestamp at
T0. - Bearings 2–4 at even intervals — Four Bearings.
- Target track plausible; zigzag noted if lines fan.
- Intercept leg drawn with favorable AoB.
Approach
- Commit range defined before periscope depth.
- Descent smooth; no unnecessary flank noise near screen.
- Escort bearings identified if convoy.
Periscope snapshot
- Scope up briefly only.
- Class ID confirmed for mast height.
- Stadimeter range taken — Stadimeter Range.
- AoB noted; scope down.
TDC and tubes
- Speed, bearing, range, AoB entered; Position Keeper on — TDC Guide.
- Solution drift acceptable for 30+ seconds.
- Tube selected; flood only when committing.
- Gyro set; spread matches confidence level.
- Salvo count justified by target value and inventory.
Fire and immediate egress
- Fire at ready; scope confirmed down.
- Turn off track; depth orders to planned layer.
- Telegraph to silent speed when safe.
- Hydrophone monitoring escort sprint — Evade Destroyers.
Post-attack (5–15 sim minutes)
- No panic climb; respect test depth.
- Layer used intentionally; noisy dives avoided.
- Surfacing criteria: escort screws faded + time buffer.
- Debrief: which tick failed if miss or damage.
Quick reference links
Print this page from the browser for a second-monitor reference. Re-run the checklist until flooding late and stale range are eliminated — then campaign Submarine Classes torpedo budgets will feel generous instead of terrifying.
Why checklists work in tactical sims
Silent Shark punishes skipped steps that arcade games hide with auto-radar. Under escort pressure, human memory drops the stadimeter refresh before the gyro check. Physical or second-monitor ticks externalize memory without dumbing down simulation — real sub crews used checklists too.
Customizing for your boat and scenario
Add marginal notes after campaign unlocks: tube count, test depth, preferred evasion layer. Demo players might add “generator weather = rain → widen spread” as a conditional tick.
Failure review
After each sortie, mark the first failed tick — not just “missed torpedo”. Patterns emerge: most demo deaths trace to missing egress line or stale range, not random escort luck.
Stream and content creator note
Checklist on overlay is fine; blur any personal scenario seeds if sharing competitive challenge runs post-launch.
Conditional ticks
Add personal notes: rain scenario → widen spread tick; convoy → escort bearing tick before flood. Campaign adds fuel abort tick when below reserve margin.
Team teaching
Single-player only, but checklist helps streamers explain steps aloud to chat — each tick maps to a guide link for deep dives.
Pre-detect checklist
Confirm you know your own course and speed. Confirm time compression is low enough to plot. Confirm you have a plan for where to hide after firing using thermal diving notes. Confirm tube inventory matches the attack you intend — especially important once campaign torpedo counts matter after launch.
Detect and plot checklist
Hydrophone bearing logged. Timestamp on chart. Second and third bearings planned at equal intervals. Escort bearings labeled separately from merchant bearings. If you cannot label them, you are not ready to close.
Commit checklist
Periscope depth reached smoothly. Snap look complete. Class identified. Stadimeter range taken. AoB estimated with one consistent method. TDC fields updated as a set. Gyro legal. Flood only after the above is true.
Fire and egress checklist
Spread set intentionally. Salvo timing chosen. Scope down. Depth change toward planned layer. Telegraph to quiet speed unless a timed dash is required. Hydrophone open to judge escort reaction. No curiosity peek for sixty seconds minimum.
After-action checklist
Write the four TDC numbers you used. Write miss or hit. Write which checklist step you skipped. Replay once with only that step corrected. Link the lesson to How to Use the TDC or Four Bearings as needed.
Why checklists beat vibes
Silent Shark is a procedure game wearing a submarine skin. The players who improve are the ones who can narrate their procedure under stress. Use this page until narration is automatic, then keep it as a recovery tool after bad nights in convoy weather.
Frequently Asked Questions
Quick answers to the most common Silent Shark questions.
Should beginners use the attack checklist every sortie?
Yes. Demo convoy scenarios punish skipped steps exactly like campaign will. Retire the list only when every phase is automatic.
Does the checklist include campaign-only steps?
Optional ticks mark patrol orders and torpedo inventory — relevant after August 2026 launch, harmless to skip in demo practice.
Where can I learn what each checklist item means?
Each line links to a guide or system page — start with [Getting Started](/guides/getting-started/) and [How to Use the TDC](/guides/how-to-use-tdc/).